It is easy to setup Funnel Analytics to start sending data from your Shift4Shop store to GA4. You will need a Tag Manager account and a Google Analytics account (GA4). If you need help getting started with either, check out how with our tutorials for GA4 setup and Tag Manager setup.
OVERVIEW
Time needed: 20 minutes
- Sign up for the Funnel Analytics app
- Verify your Shift4Shop store settings
- Add your domain to your Funnel Analytics app settings
- Connect the Funnel Analytics app to your Shift4Shop store
- Add your Google Analytics property ID to your app settings
- Allow the Funnel Analytics app to create your tags
- Update your Tag Manager workspace to accept your tags
- Add additional domains (if applicable)
- Begin collecting data!
Step 1: Sign up for Funnel Analytics
- Purchase a subscription to a Funnel Analytics plan.
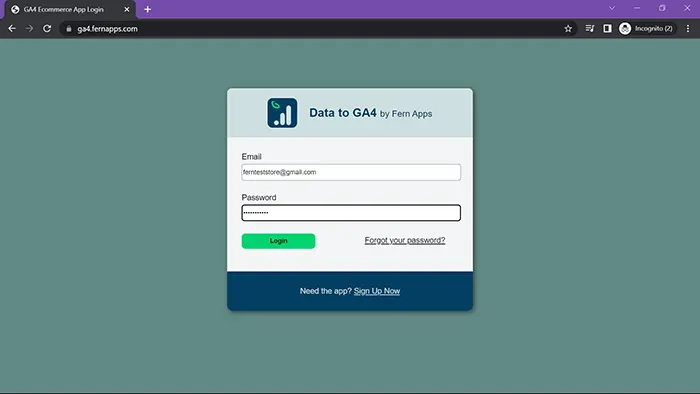
- Select “First-time User” and create a password for your Funnel Analytics app settings.
- Note: You must enter the same email address used for your FernApps.com account at checkout. **Please add [email protected] to your contacts or address book.**
- Log into Funnel Analytics app settings.
Step 2: Verify or change Shift4Shop settings
- Go to your Shift4Shop store’s admin dashboard.
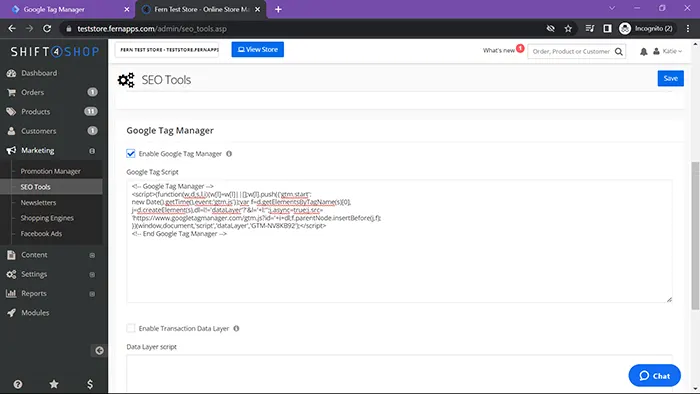
- Select SEO Tools in the Marketing section of the dashboard menu.
- Select Google Tools tab.
- Check to make sure ONLY Google Tag Manager is enabled and the script is inserted. Note: Using other fields such as tracking ID will result in duplicate data.
- If your store does not have these settings, connect your Tag Manager account to Shift4Shop.
- Need help? See how in our Tag Manager setup tutorial
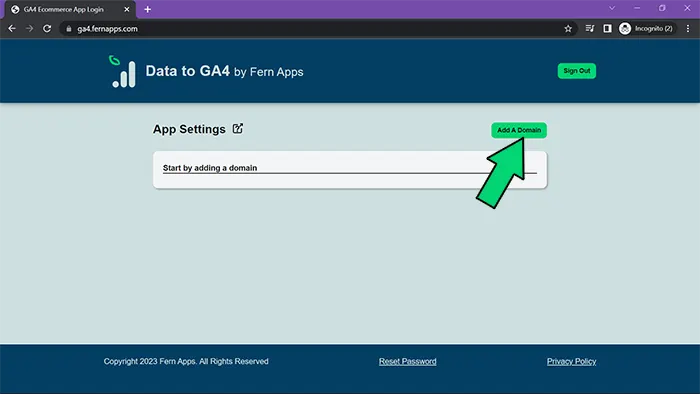
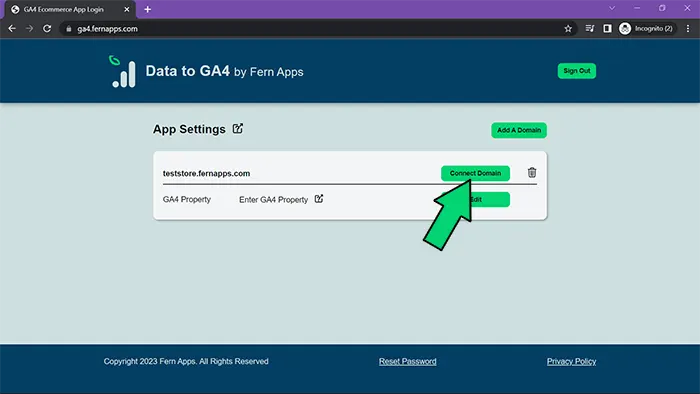
Step 3: Add domain
- Click Add A Domain.
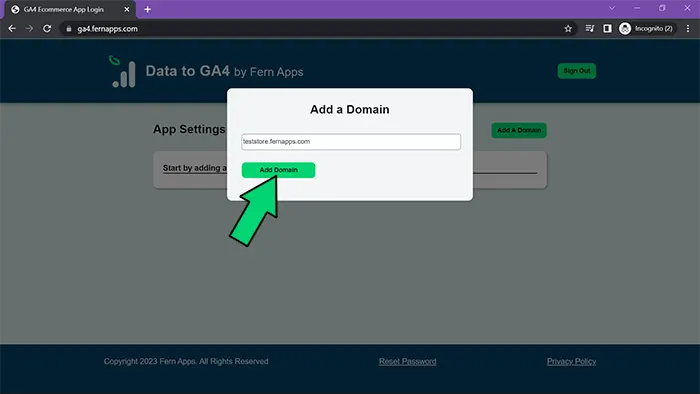
- Enter the domain of your store and select Add Domain. Note: Enter domain without https:// and in all lowercase.
Step 4: Connect Funnel Analytics to Shift4Shop
- Click Connect Domain. Note: If you are logged into a Shift4Shop store’s admin, that is different from the domain you are connecting, you will first need to sign out.
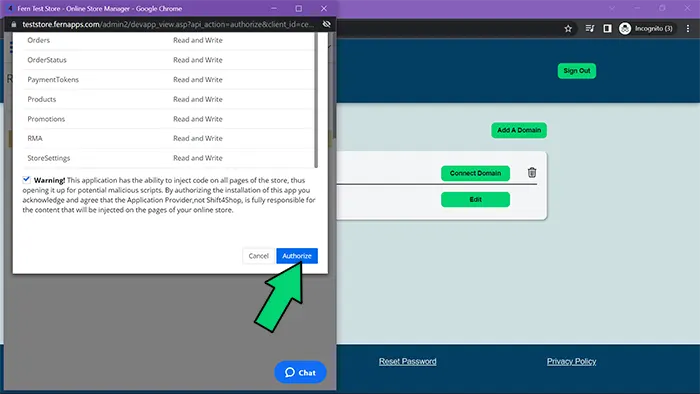
- Log into your Shift4Shop store (if prompted).
- Check the warning checkbox and then click the Authorize button. Note: This could take a minute. Popup will automatically close when complete.
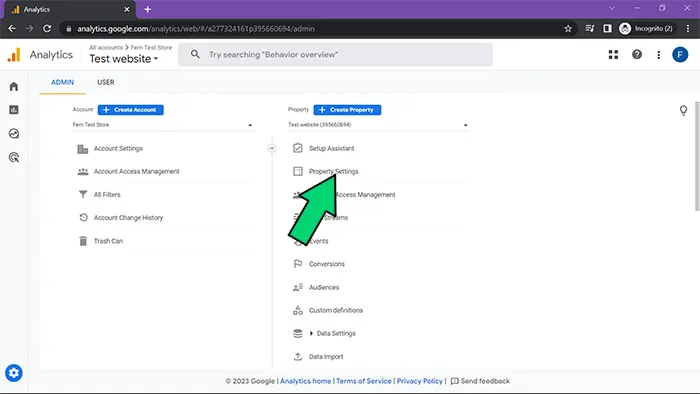
Step 5: Add property ID from Google Analytics
- Log into your Google Analytics account.
- In the Admin panel, choose the account and property for your domain.
- Select Property Settings.
- Copy property ID. Note: This is not the same as Measurement ID.
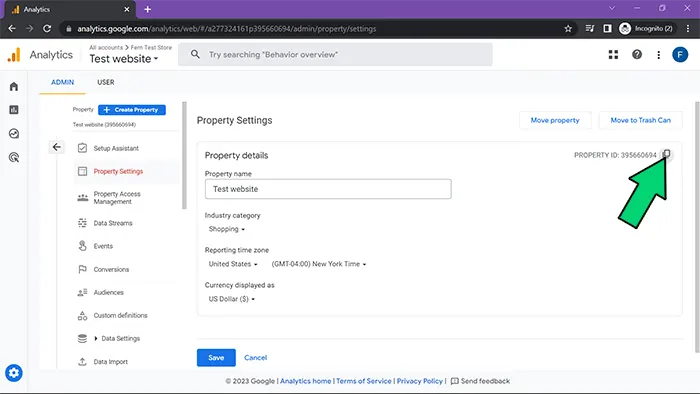
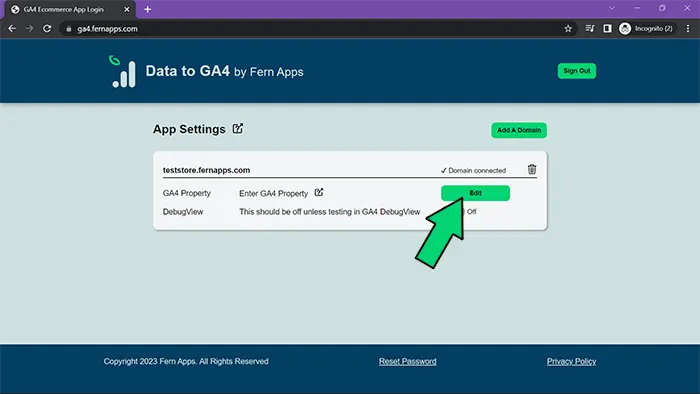
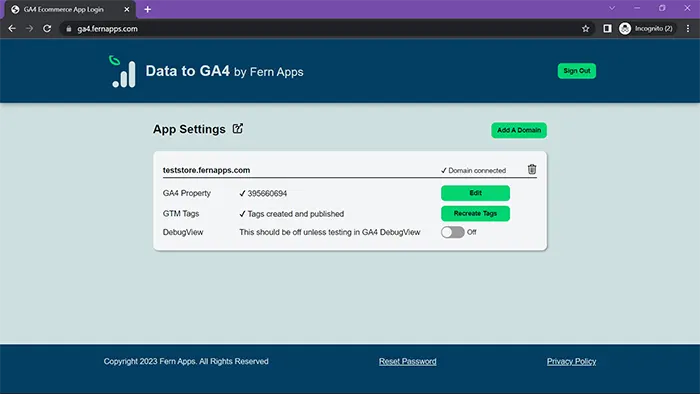
- In your Funnel Analytics app settings, for the domain’s GA4 Property, click on Edit.
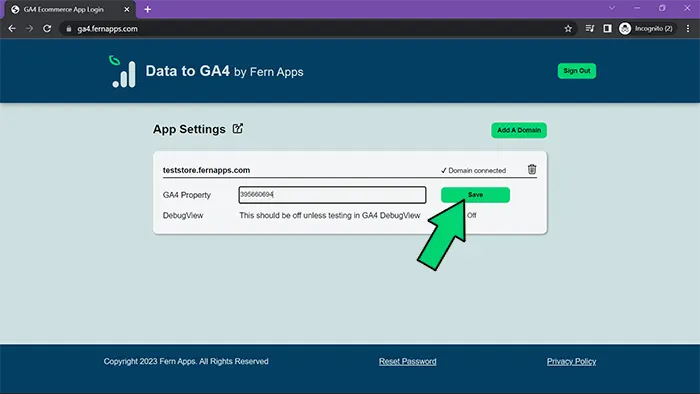
- Paste the property ID in the box and click Save.
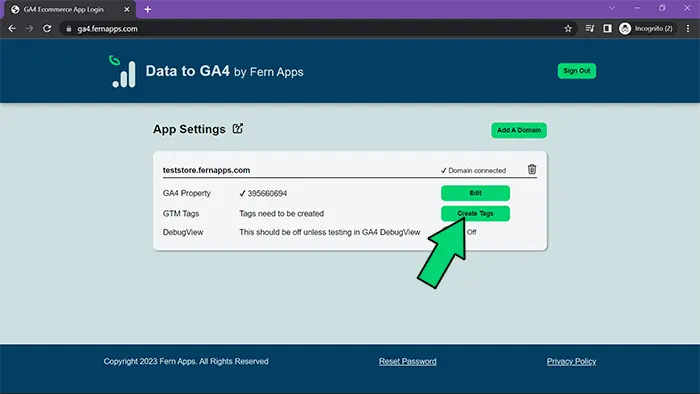
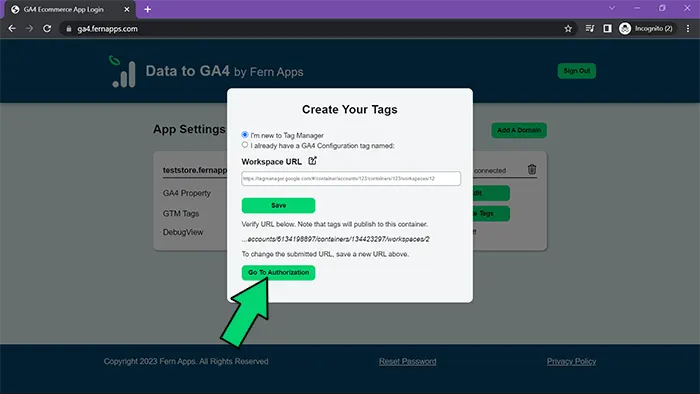
Step 6: Create your tags
- In Funnel Analytics app settings click Create Tags.
- Do you already have a Google Tag for page views in your Tag Manager container?
Step 6a: New Google Tag
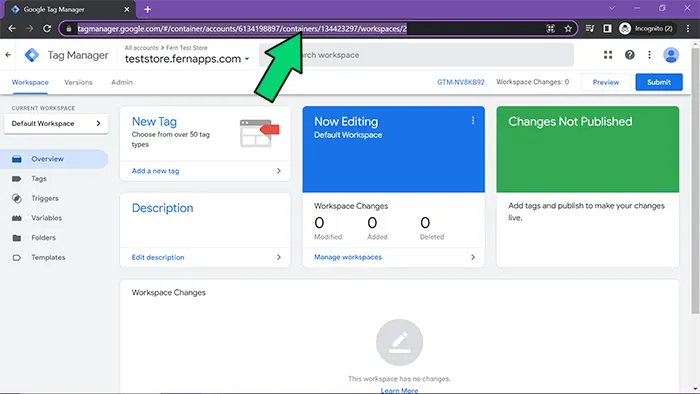
- Log into Google Tag Manager.
- Select the container for your domain.
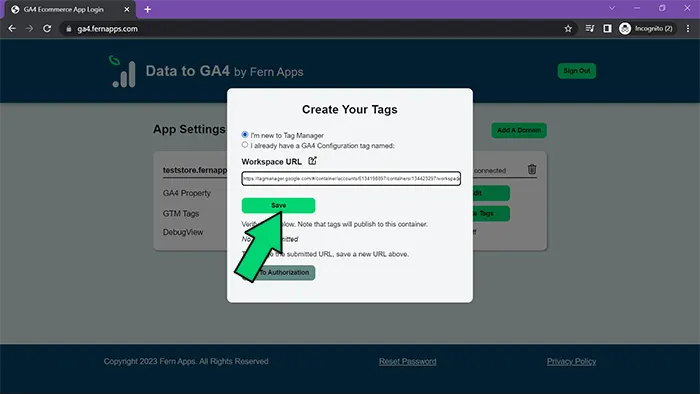
- Copy the workspace URL.
- Back in Funnel Analytics app settings, in the Create Your Tags modal, select the first radio button for “I’m new”.
- Paste the copied URL and click Save.
- Continue with Step 6c.
Step 6b: Existing Google Tag
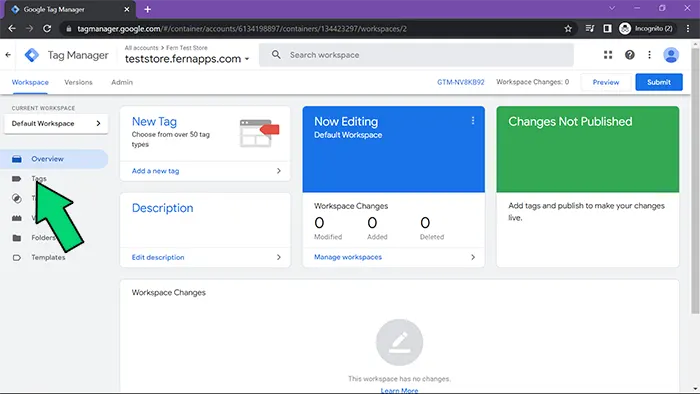
- Log into Google Tag Manager.
- Select the container for your domain.
- Select Tags on the sidebar.
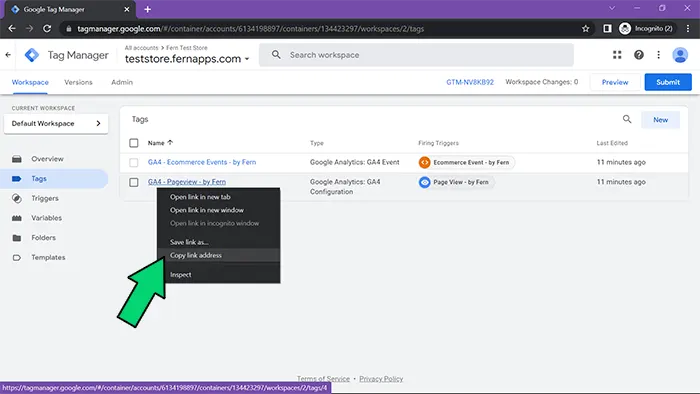
- Find the GA4 Configuration tag.
- Hover over the link and right-click to copy link address. Note: Clicking link and copying URL in the address bar does NOT work.
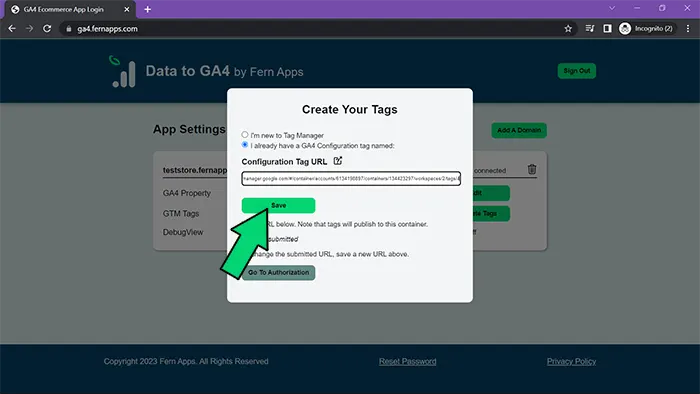
- Back in Funnel Analytics app settings, in the Create Your Tags modal, select the second radio button for “I already have”.
- Paste the copied link and click Save.
- Continue with Step 6c.
Step 6c: Authorize to create tags
- Verify the URL is correct.
- Click Go to Authorization.
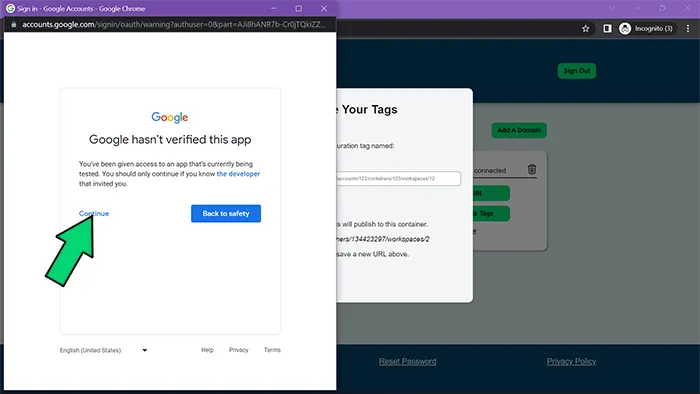
- Choose the Google account with Tag Manager to allow permissions.
- Click Continue.
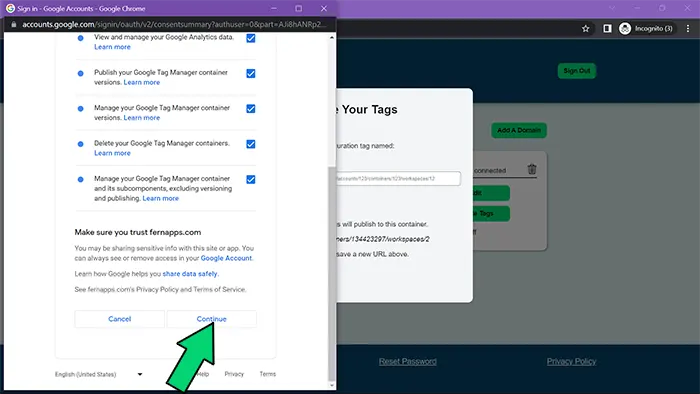
- Select all checkboxes permissions.
- Click Continue. Note: This may take a few minutes. Popup window should close automatically when complete.
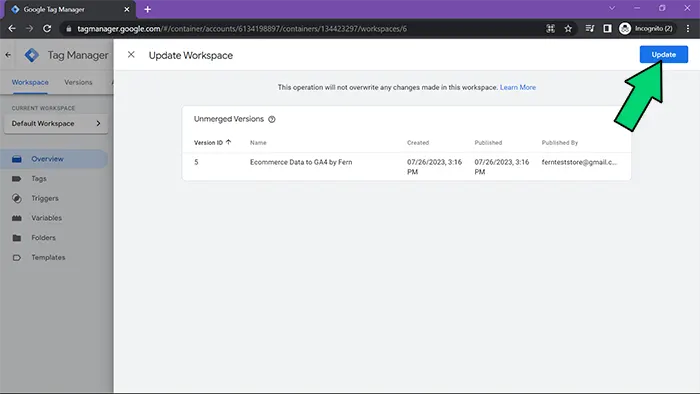
Step 7: Update workspace in Tag Manager
- Go to your Tag Manager account and select the appropriate container.
- Click Update Workspace. Note: You may need to refresh window if already open.
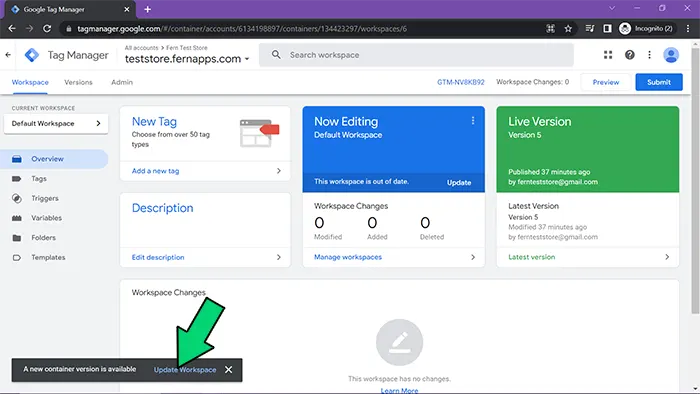
- Click Update button.
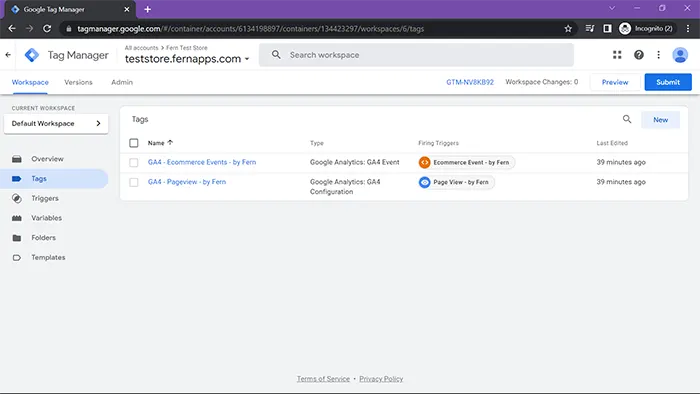
- You can view your new tags in Tags on the sidebar.
Step 8: Add additional domains
- If your plan allows multiple domains, repeat steps 2-7 for each domain.
Step 9: Collect data
- You are all set to start collecting data!
- You can test to make sure your data is collecting. Go to Realtime under reports in Google Analytics and visit your site. Events will show up in the Realtime report as you navigate your site .
- Toggle debug on to view events in your Analytics DebugView section. Note: While data will continue to collect in this mode, it is recommended to leave off during normal use.