This tutorial goes through the basic setup for users who are new to GA4. For users who have also never used Google Analytics, you will need a Gmail or Google account.
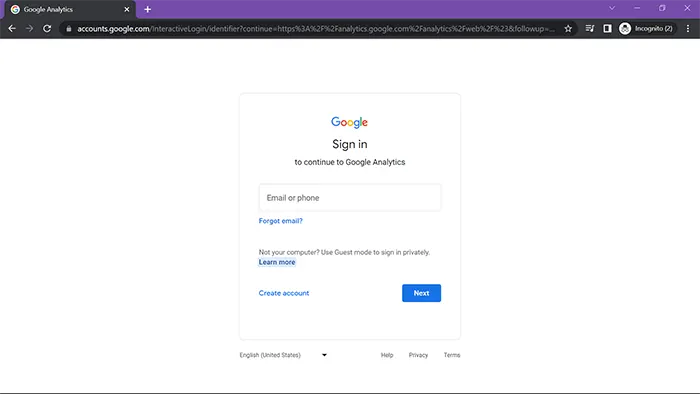
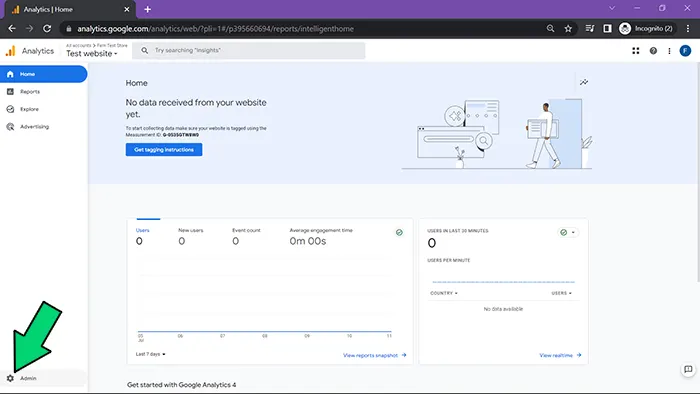
Step 1: Open and sign in to Google Analytics
- Go to: https://analytics.google.com/
- Sign in using Google or Gmail credentials.
- Note: You can create multiple Google Analytics accounts with the same login to keep your business websites separate.
Step 2: Create a GA4 property
- Choose ONE of the following:
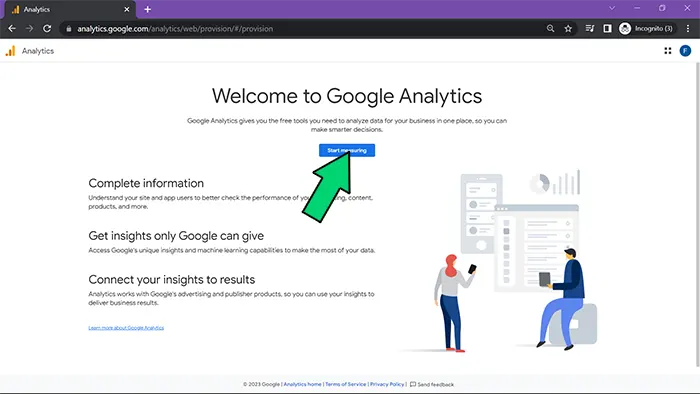
Step 2a: Setup your first account & property
- Click the Start Measuring button on the welcome screen.
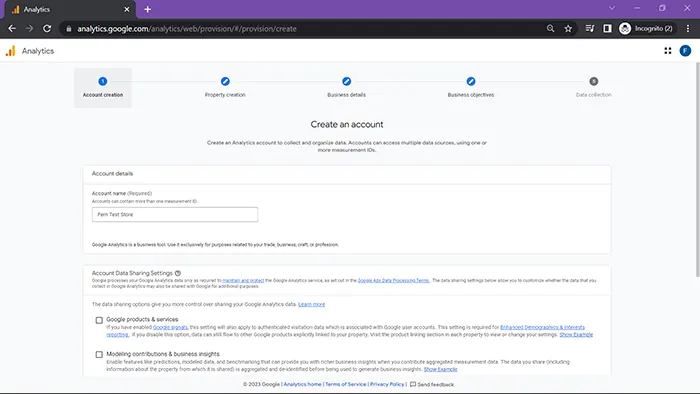
- Name the account & choose the data settings to control what data is shared with Google.
- Click Next. Enter a name for the property, and select the time zone and currency.
- Click Next. Select your industry category and business size.
- Click Next. Select how you intend to use Google Analytics.
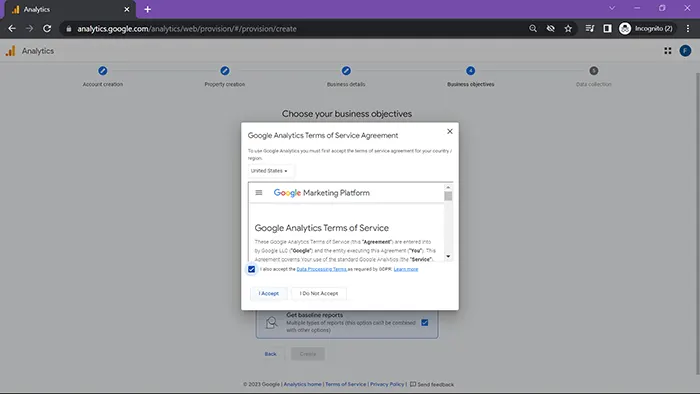
- Click Create. Accept terms if prompted.
- Click Skip for now. Go to Step 3 for setting up your data stream.
Step 2b: Create an account & property for your store
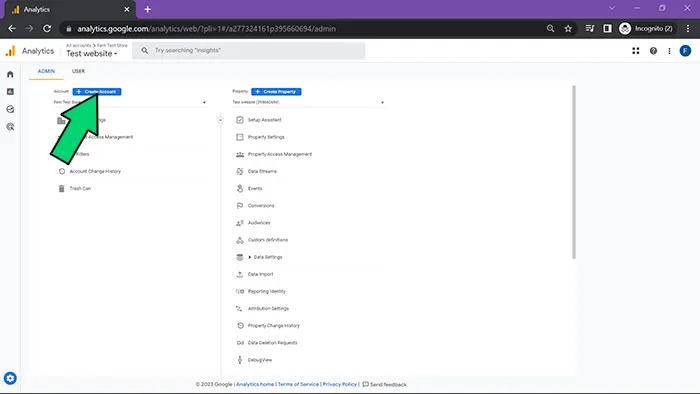
- Go to the Admin panel.
- In the Account column, click Create Account.
- Name the account & choose the data settings to control what data is shared with Google.
- Click Next. Enter a name for the property, and select the time zone and currency.
- Click Next. Select your industry category and business size.
- Click Next. Select how you intend to use Google Analytics.
- Click Create. Accept terms if prompted.
- Click Skip for now. Go to Step 3 for setting up your data stream.
Step 2c: Create GA4 property
Note: If you did not create the account, make sure you have the editor role.
- Go to the Admin panel.
- In the Account column, select the right account.
- In the Property column, click Create Property.

- Enter a name for the property, and select the time zone and currency.

- Click Next. Select your industry category and business size.
- Click Next. Select how you intend to use Google Analytics.
- Click Create. Accept terms if prompted.
- Click Skip for now.
Step 3: Set up a data stream for your new property
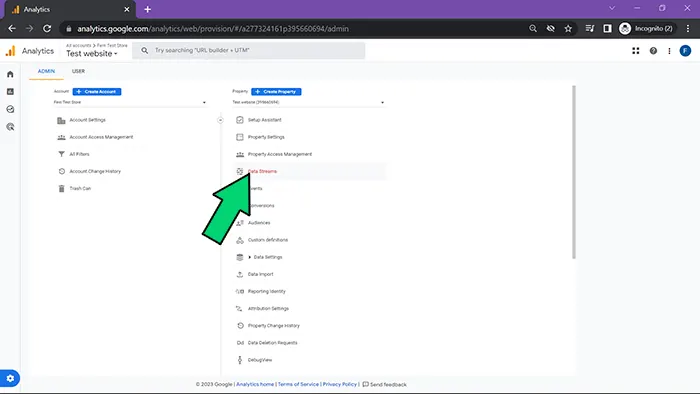
- Go to the Admin panel.
- In the Account column, select the account.
- In the Property column, select the property.
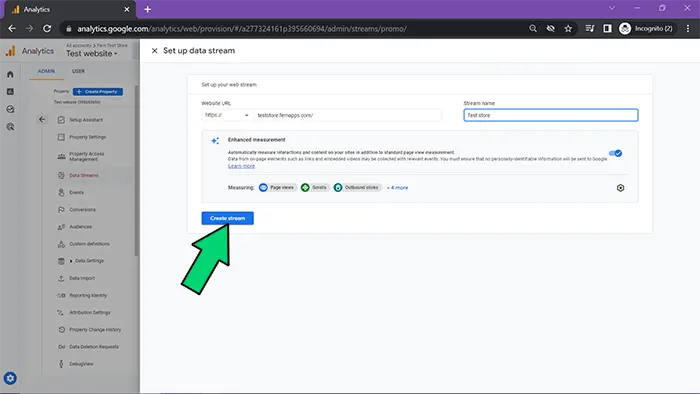
- Select Data Streams.
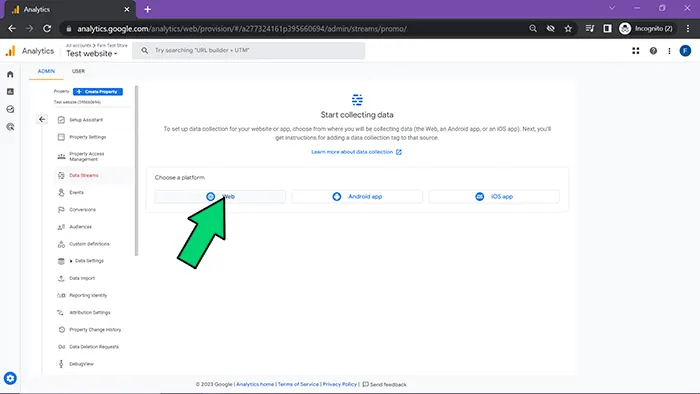
- Select Web platform.
- Enter the URL for the domain you wish to collect ecommerce data from.
- Name the domain and click Create streams.
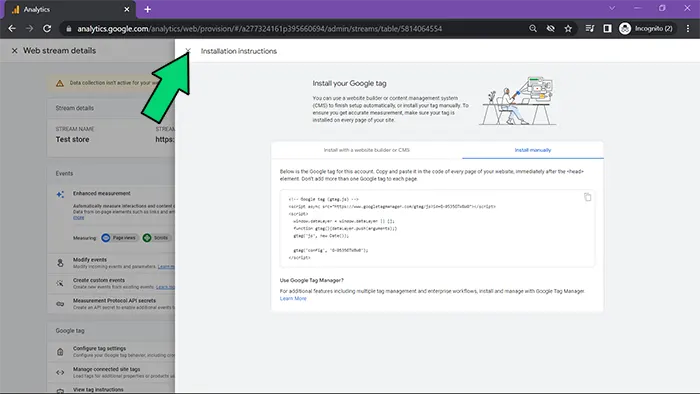
- Exit the tag installation instructions (this will be handled by the Funnel Analytics app).
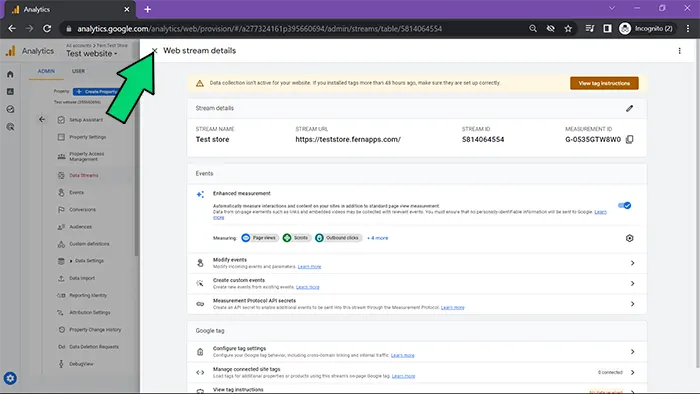
- Exit the Web stream details.
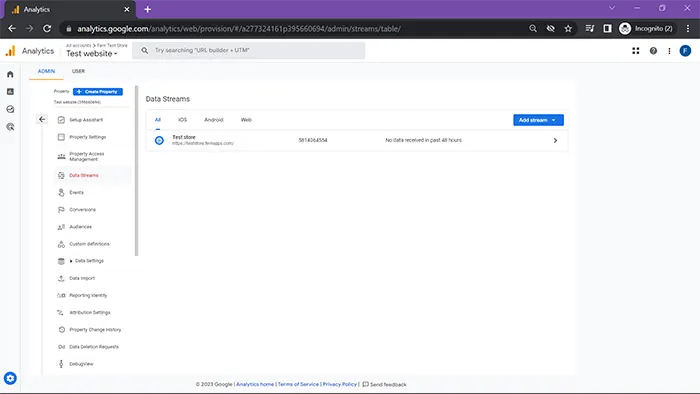
- Your data stream should be set up and appear in the list.
Step 4: Have a Tag Manager account?
- YES – Great! You are ready to set up the Funnel Analytics app.
- NO – No problem, set up an account now.